


Requirements
Section titled “Requirements”- A valid Meta Business account. How to create a Meta Business account.
- A Facebook account with full access to the associated Meta Business account.
- A valid WhatsApp phone number; a landline can also be used.
Key terms
Section titled “Key terms”These terms will help you follow the setup process in LIVOI and Meta Business:
- Meta Business account: the overarching company account at Meta (Facebook). It centrally manages Meta services, including Facebook pages, Instagram profiles, advertising accounts, and WhatsApp Business accounts. Roles, permissions, and payment details are managed here. A Meta Business account is required to create a WhatsApp Business account or link it to LIVOI.
- WhatsApp Business account: the basis for using WhatsApp for business. It is created and managed in Meta Business Manager and controls WhatsApp phone numbers, permissions, payments, and technical connections such as the LIVOI integration.
- WhatsApp business profile: the profile customers see when messaging your company. It includes the company name, a short description, category, website, and contact details so customers know who they are communicating with.
Step-by-step setup
Section titled “Step-by-step setup”Start the wizard
Section titled “Start the wizard”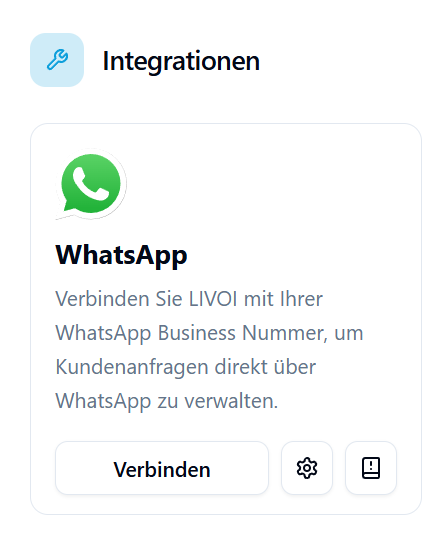 In the LIVOI dashboard, go to Integrations → WhatsApp → Connect. A pop-up wizard opens and guides you through setup.
Sign in to Meta Business
Section titled “Sign in to Meta Business”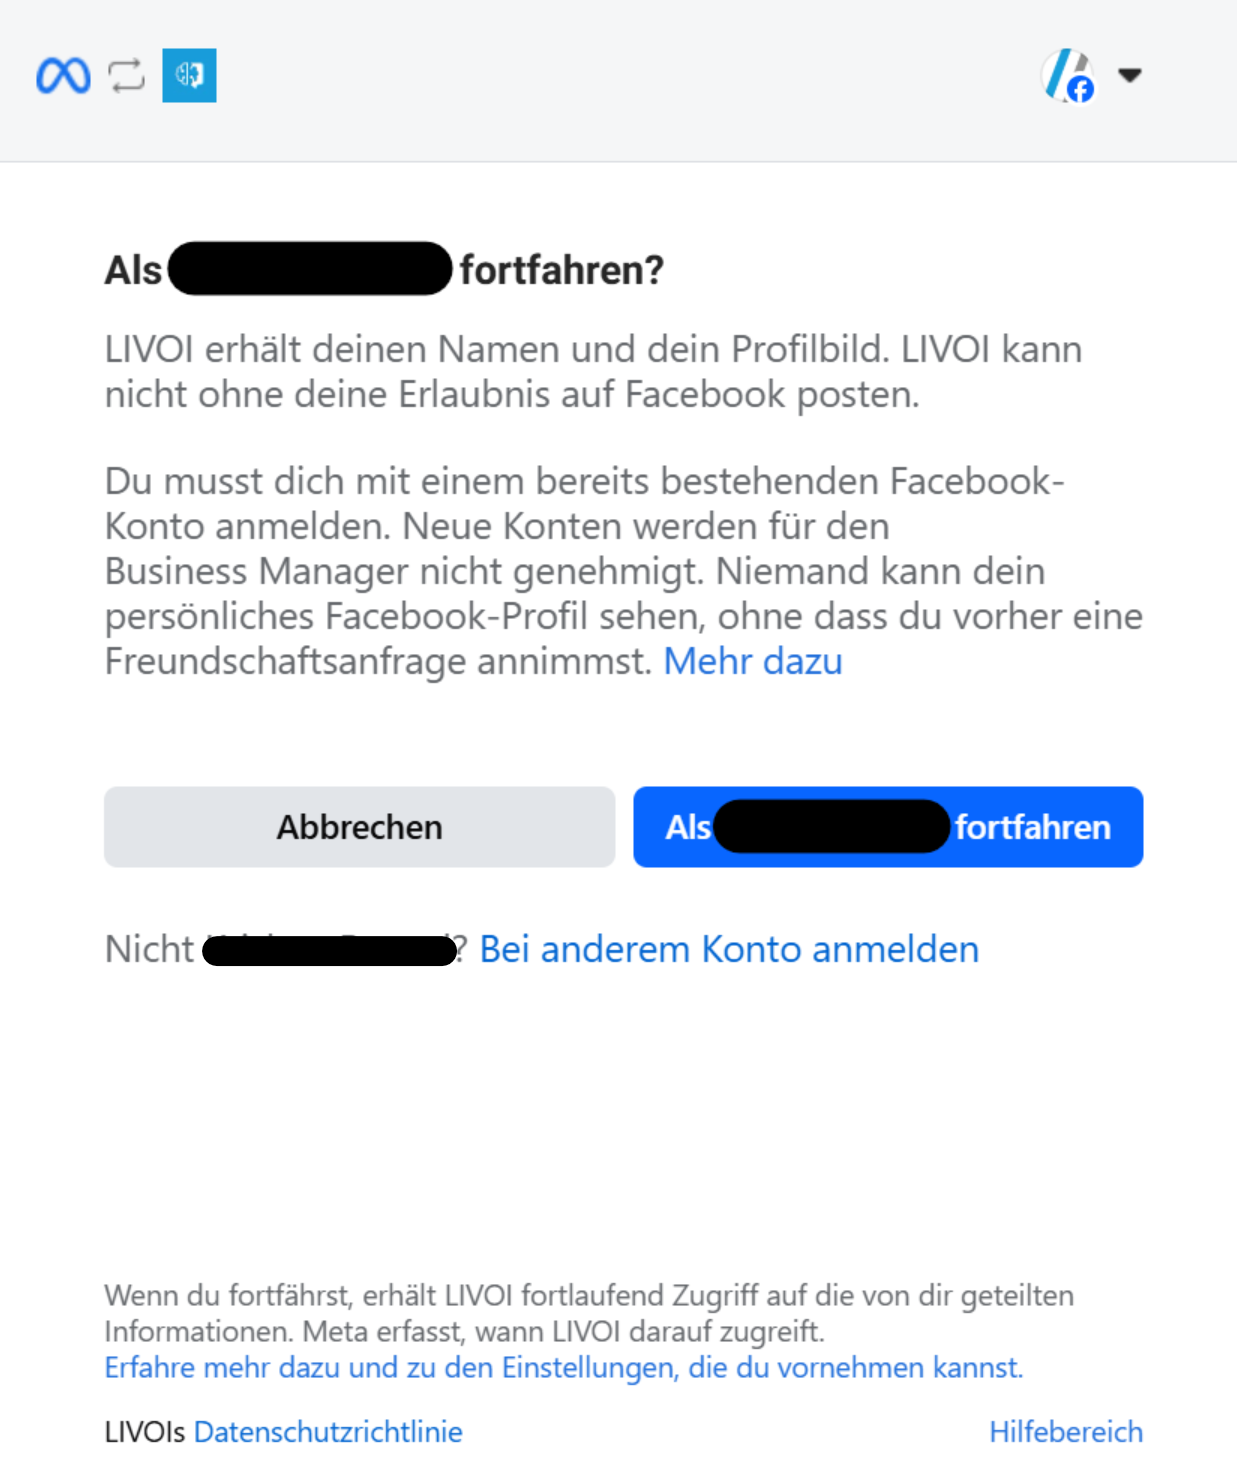 Sign in with the Facebook account that has access to Meta Business, then choose Continue as… in the wizard.
Review and confirm permissions
Section titled “Review and confirm permissions”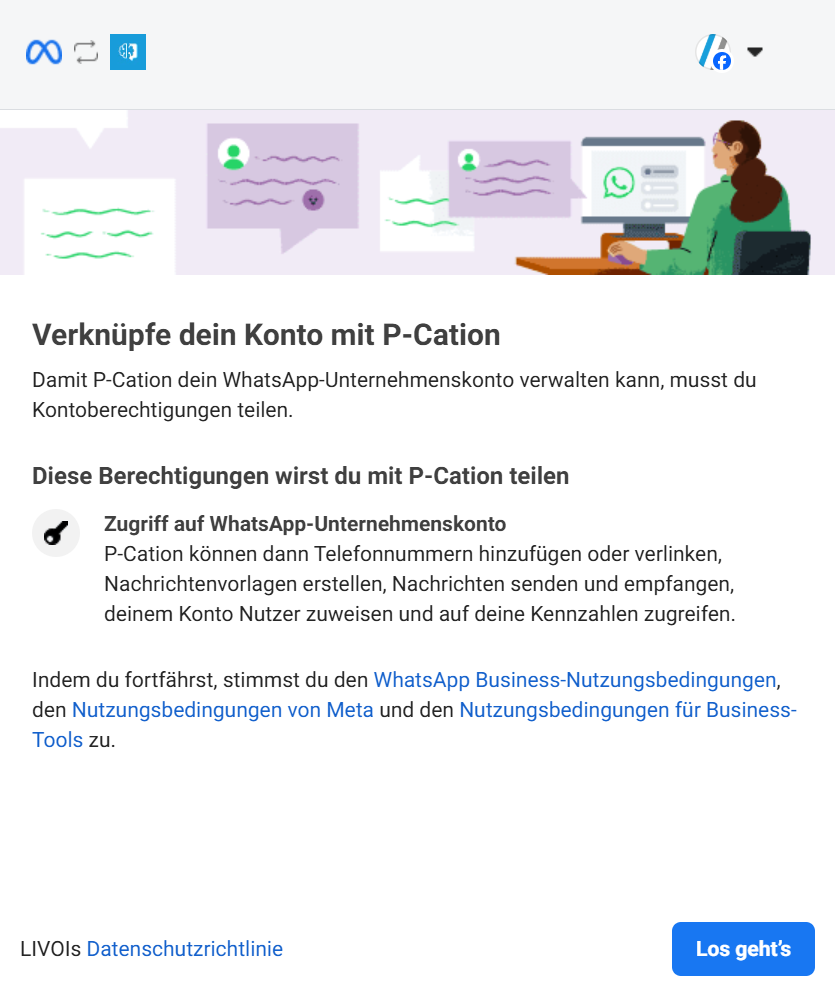 Review the requested permissions and choose Get started.
Select the business portfolio
Section titled “Select the business portfolio”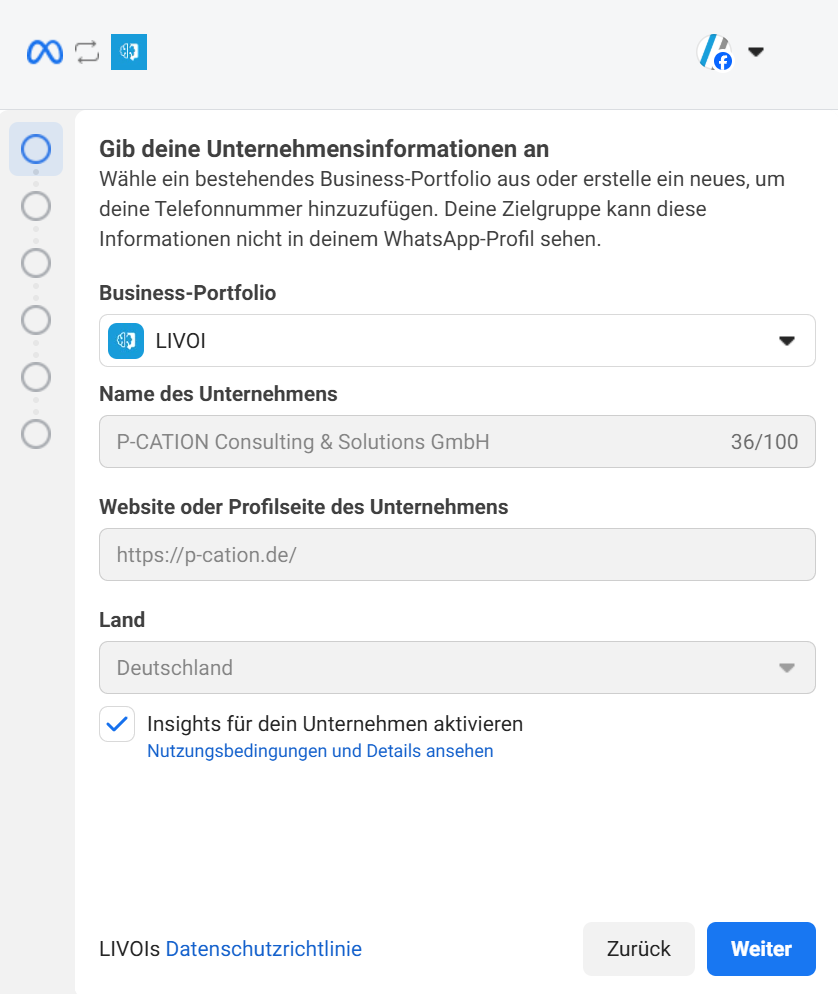 Select your company’s business portfolio and click Next.
Register a new phone number
Section titled “Register a new phone number”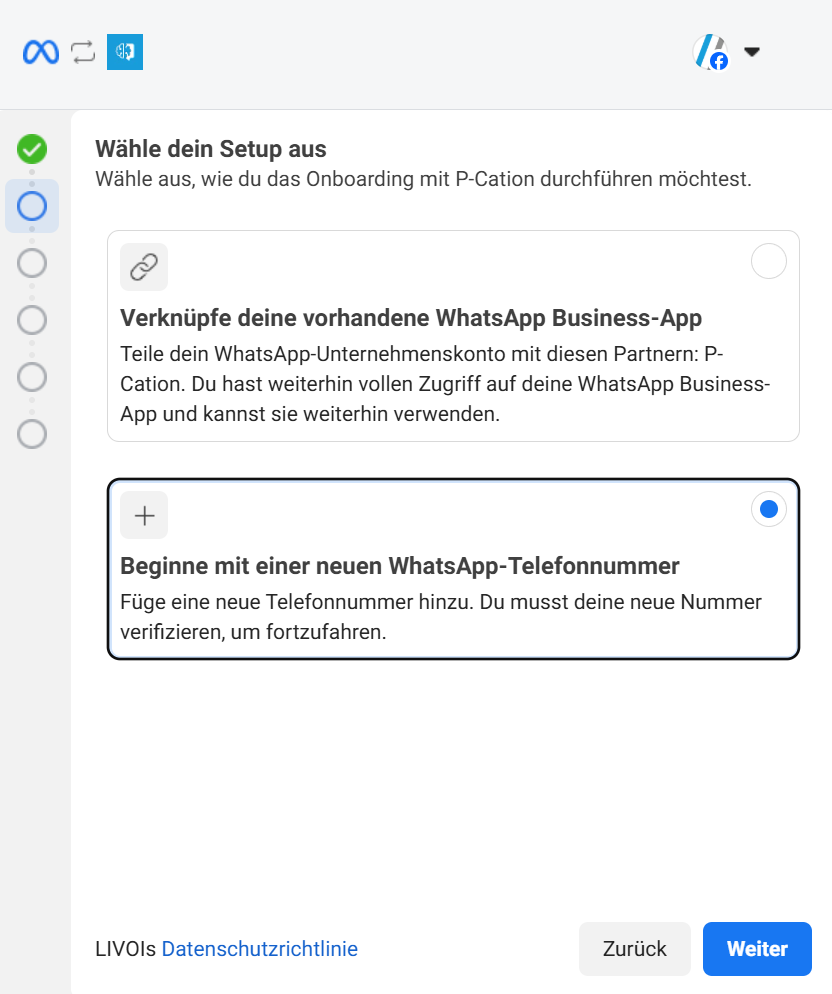 Select a new WhatsApp phone number and click Next.
Select or create accounts
Section titled “Select or create accounts”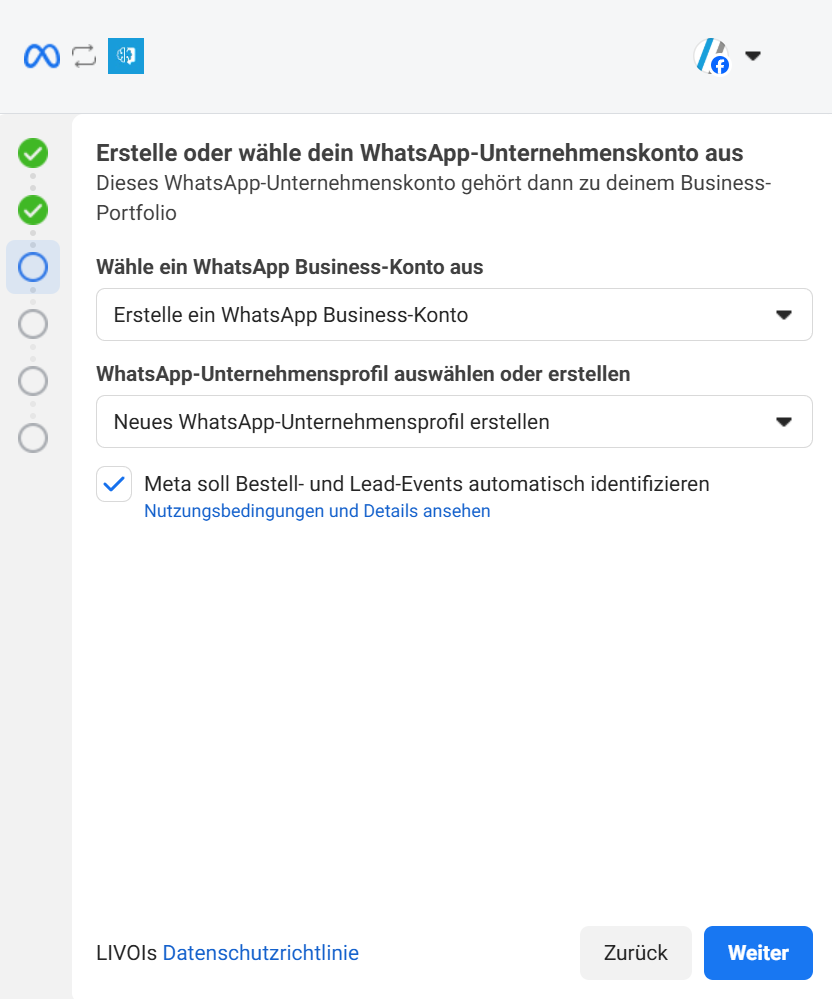 Select an existing WhatsApp Business account and business profile, or create new ones.
Create missing accounts
Section titled “Create missing accounts”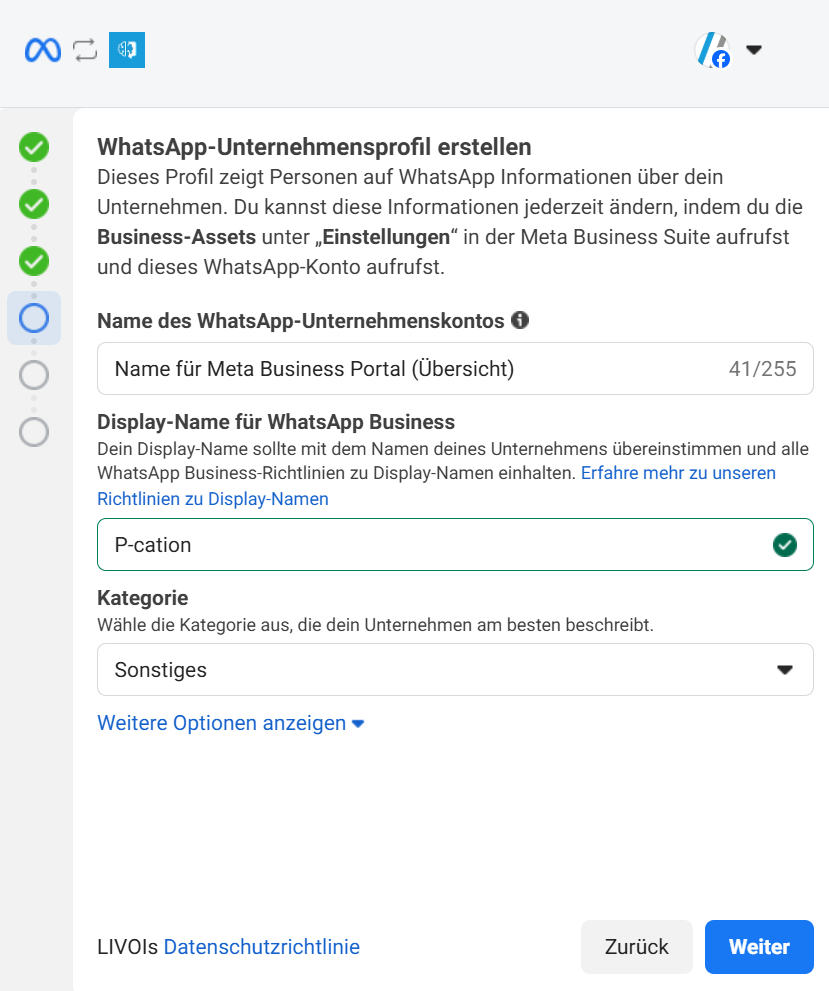 If you did not select existing accounts in the previous step, create them here.
Add the phone number
Section titled “Add the phone number”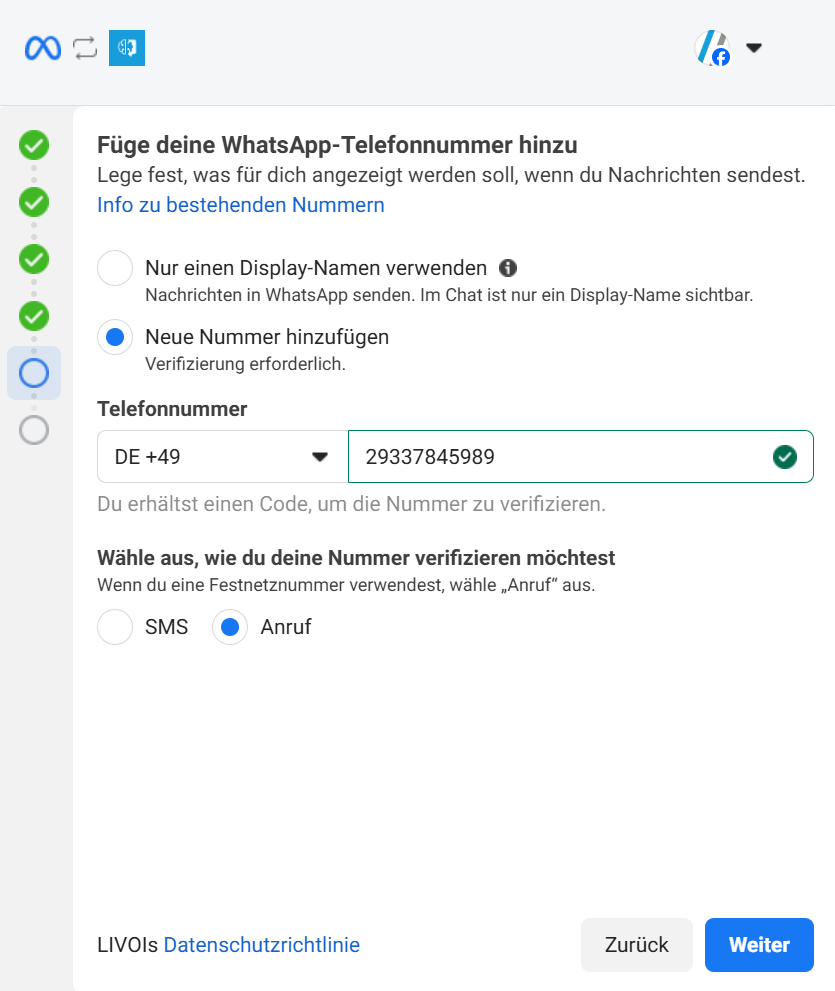 Add a new number, enter the phone number, select a verification method, and click Next.
Enter the verification code
Section titled “Enter the verification code”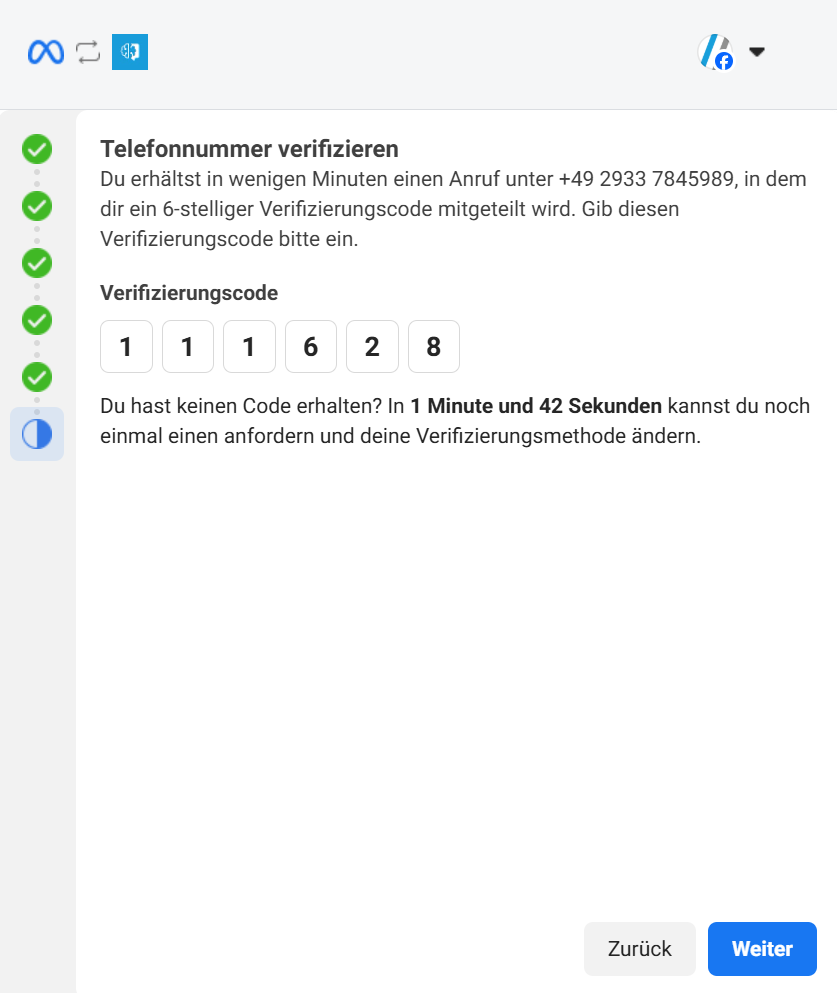 Enter the code sent to the phone number or provided by phone, then choose Next.
Confirm access
Section titled “Confirm access”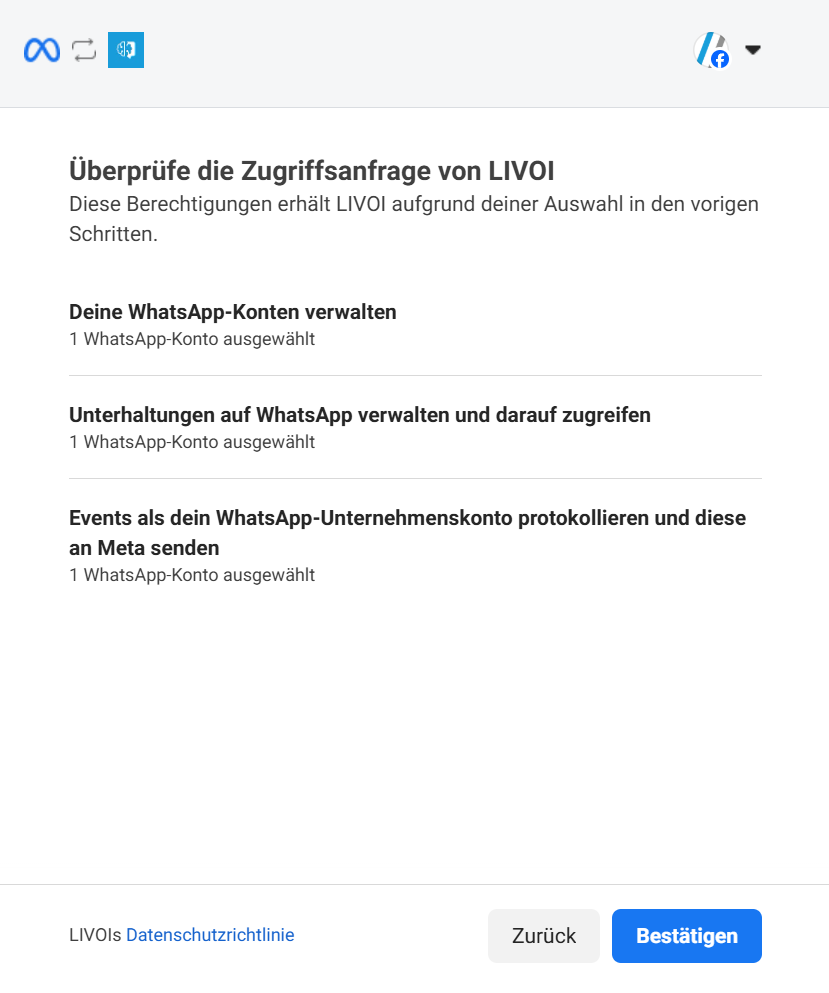 Review the settings and click Confirm.
Check the payment method
Section titled “Check the payment method”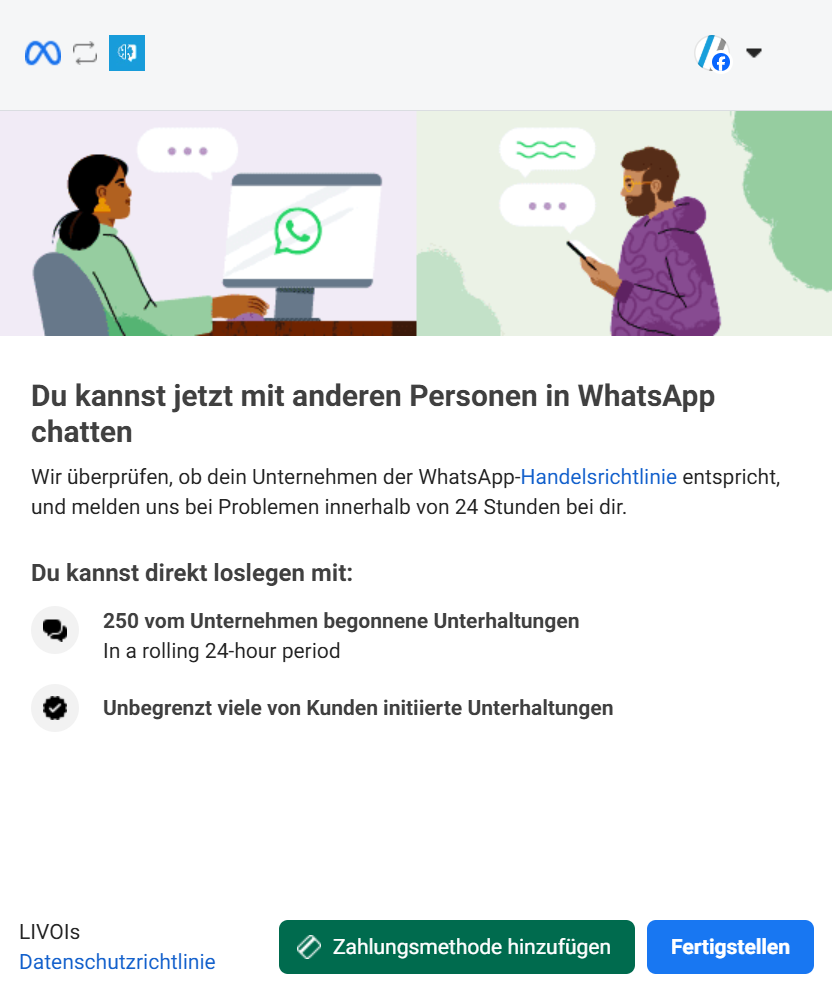 Review the current limits. Add a payment method if needed; otherwise, click Finish.
Verify the number with two-factor authentication (2FA)
Section titled “Verify the number with two-factor authentication (2FA)”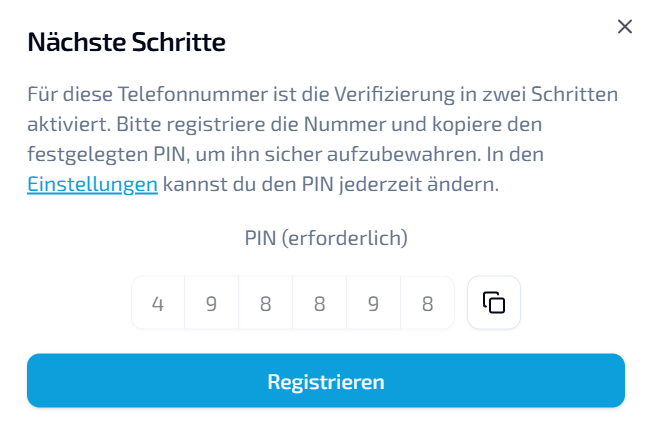 After completion, another pop-up appears in the dashboard. For security, the phone number is immediately verified with a second factor. Store the automatically generated PIN securely; it can be changed later.
Check the number’s status
Section titled “Check the number’s status” Check the status under Integrations → WhatsApp → Overview in the LIVOI dashboard. A green checkmark means the number is ready and can be assigned to an agent.
Setup complete
Section titled “Setup complete”Your WhatsApp phone number is now connected to LIVOI and ready to be assigned to an agent.